BioChromes
Understanding the process
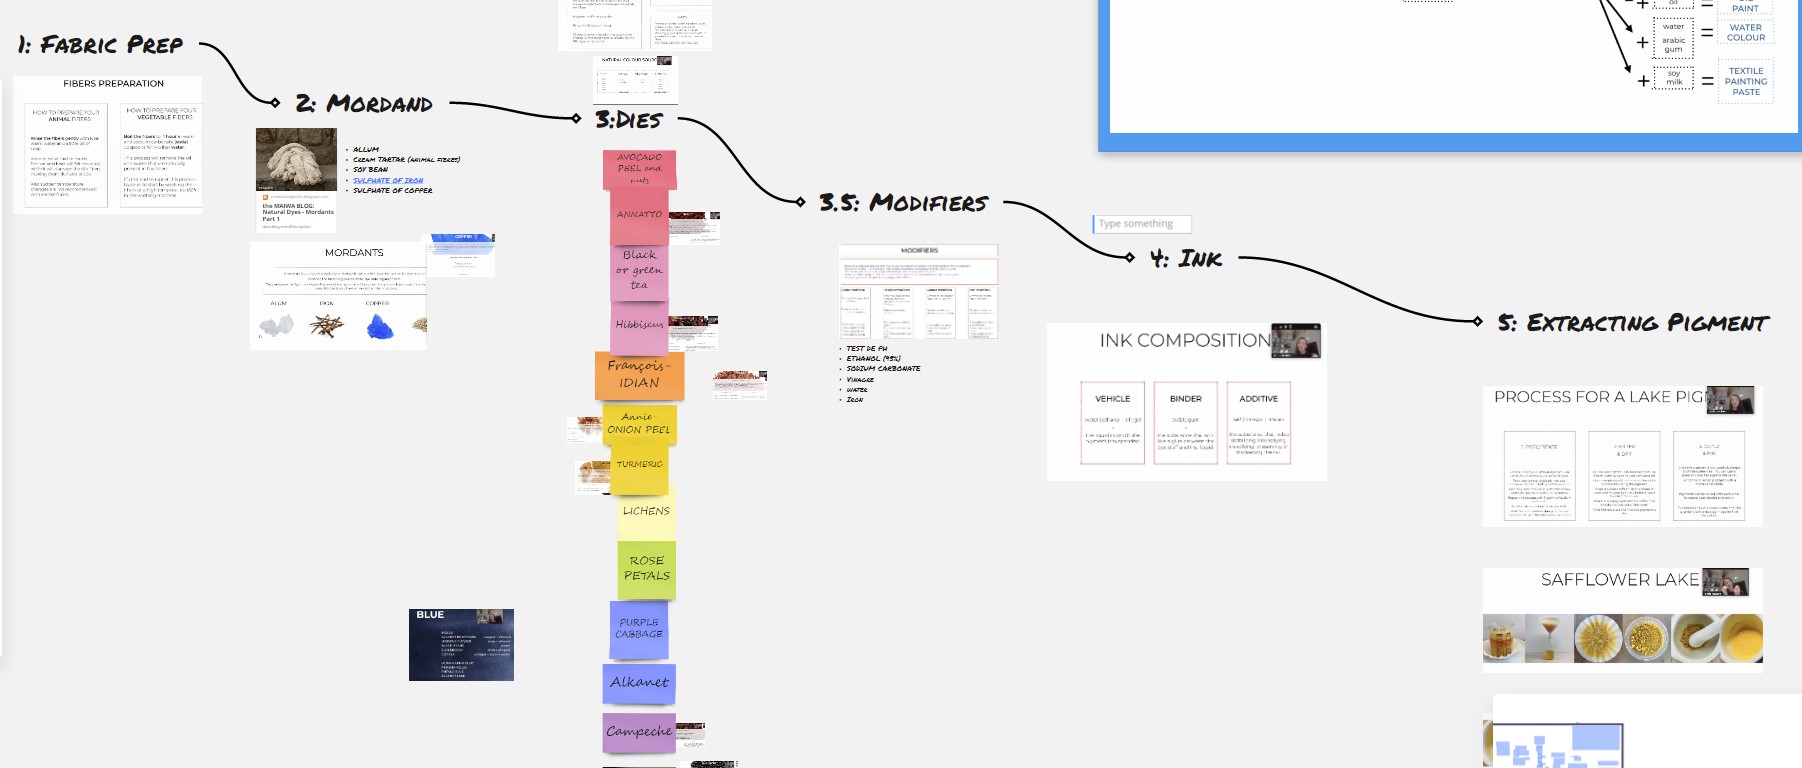
The goal for this week assigment is to experiment with natural dyes. I was a bit anxious at first since what was share during the class was a bit overwhelming, we were all very excited to start but first I needed to take a step back and make sure that I understood each step correctly. All of this is totally new for me so I decided to do a bit of research.
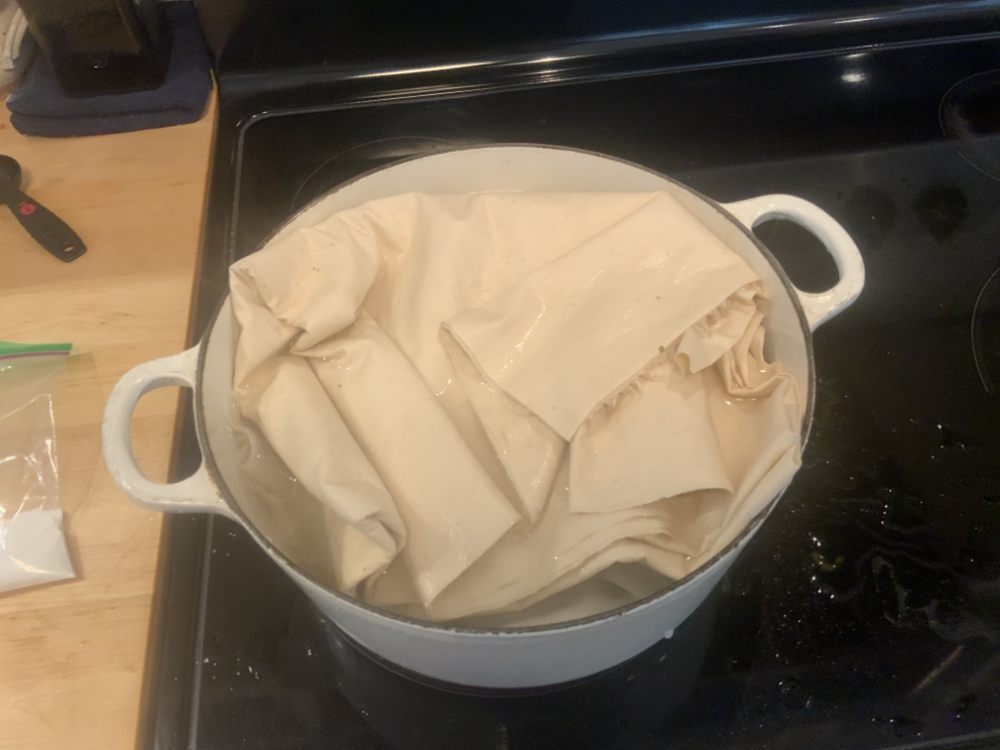
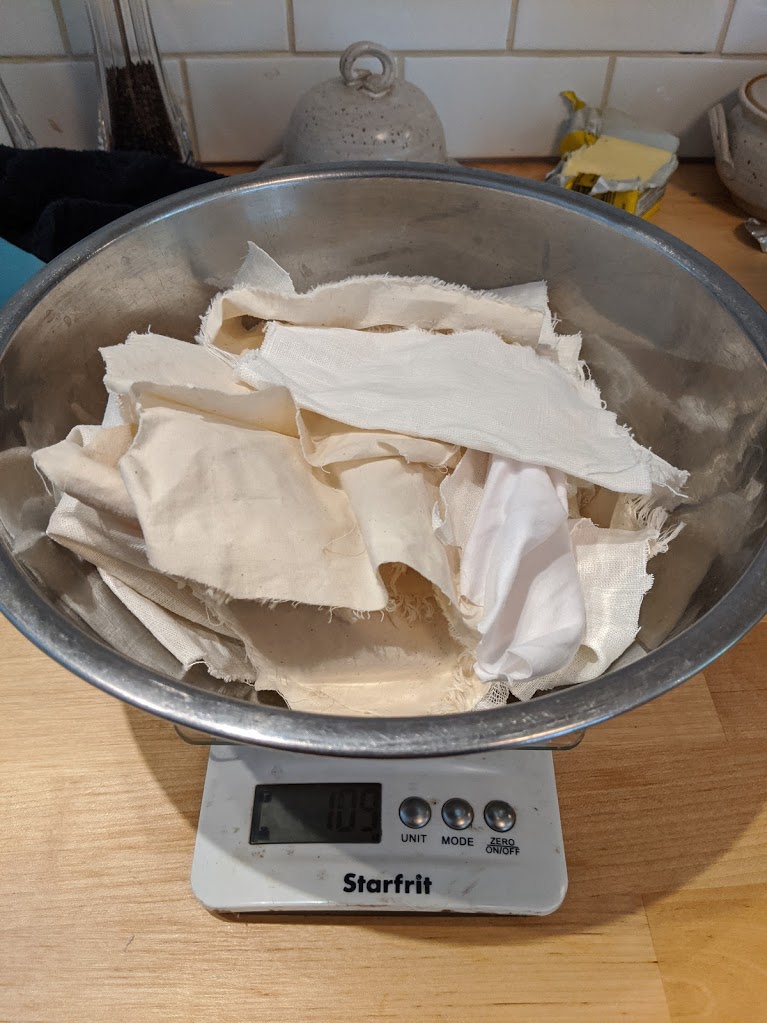
The first thing that we have to do is preparing the fabric. Both Animal and vegetal fibers needs to be prepared. In order to get the best result, we need to clean the fabric and get rid of the waxes and residues than can be found onto the fibers. To do so, one solution is to make a bath of alkaline water and sodium carbonate and let the textile sit while the water is boilling. Once the water became murky from the waxes and residues, you can change the water and repeat the process until the water runs clear. This process is called "scouring". The process for scouring animal fibers differ a little from the vegetal fibers, the main difference is that you don'y have to use sodium carbonate for the animal fibers, rincing the fibers with dish soap is enouph for the preparation of the textile.
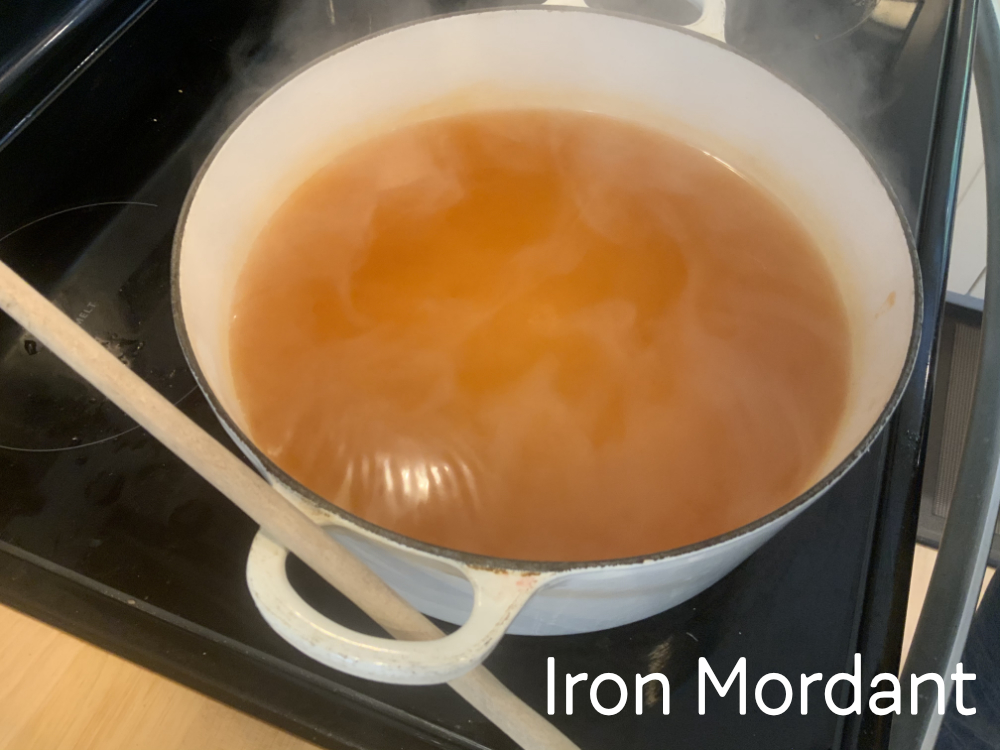
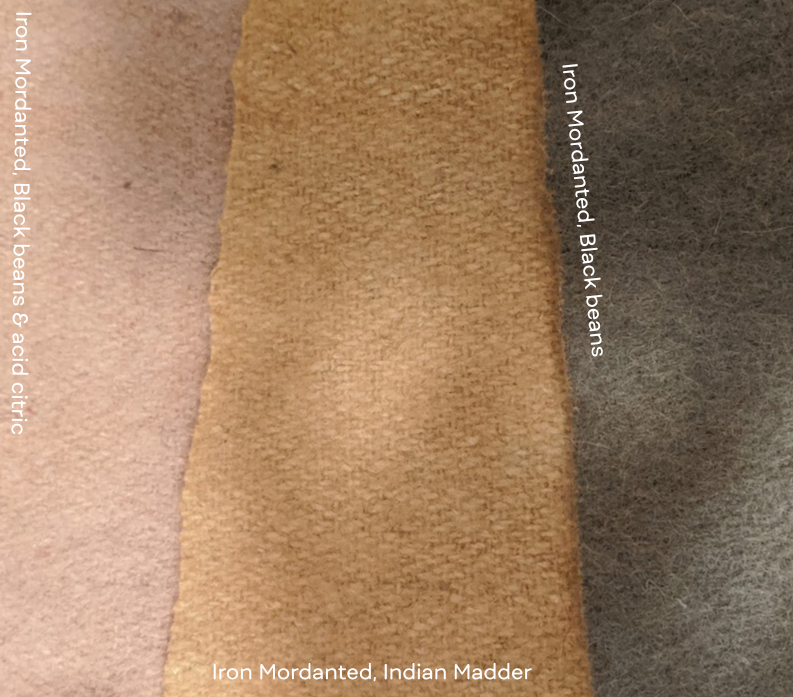
Once the fabric is prepared, we need to apply a mordant. The mordant is a substance, typically an inorganic oxide, that combines with a dye or stain and thereby fixes it in a material. There are multiple solution that we can use to apply the mordant, the two more common mordant that seems less hazardous are the iron sulfate and the allum (alluminium sulfate). The Allum sulfate shoud give more vivid color while the iron sulfate would normally ternish the colors during the dying process. I decided to not bother with copper since it's vapor are not human friendly and I did'nt want to put me at risk. One thing I learned that I found very intersting is the fact that once a fabric as bein mordanted, it stays that way, so we could apply mordant to a bunch of fabric at the lab so that it could be ready to dye whenever we want.
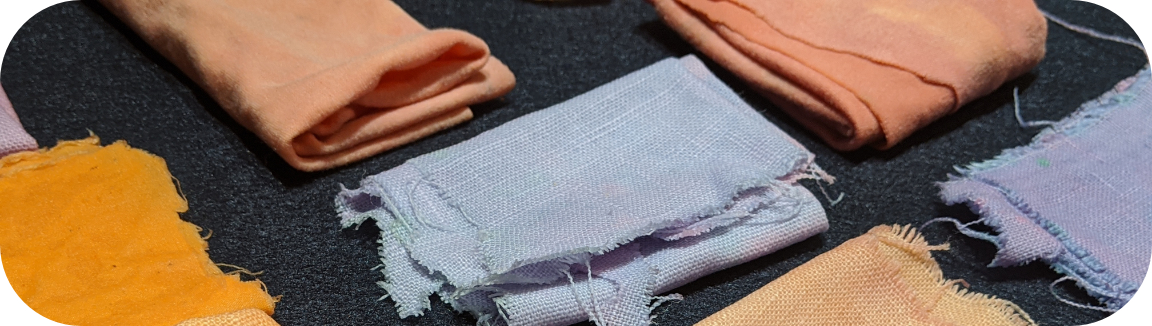
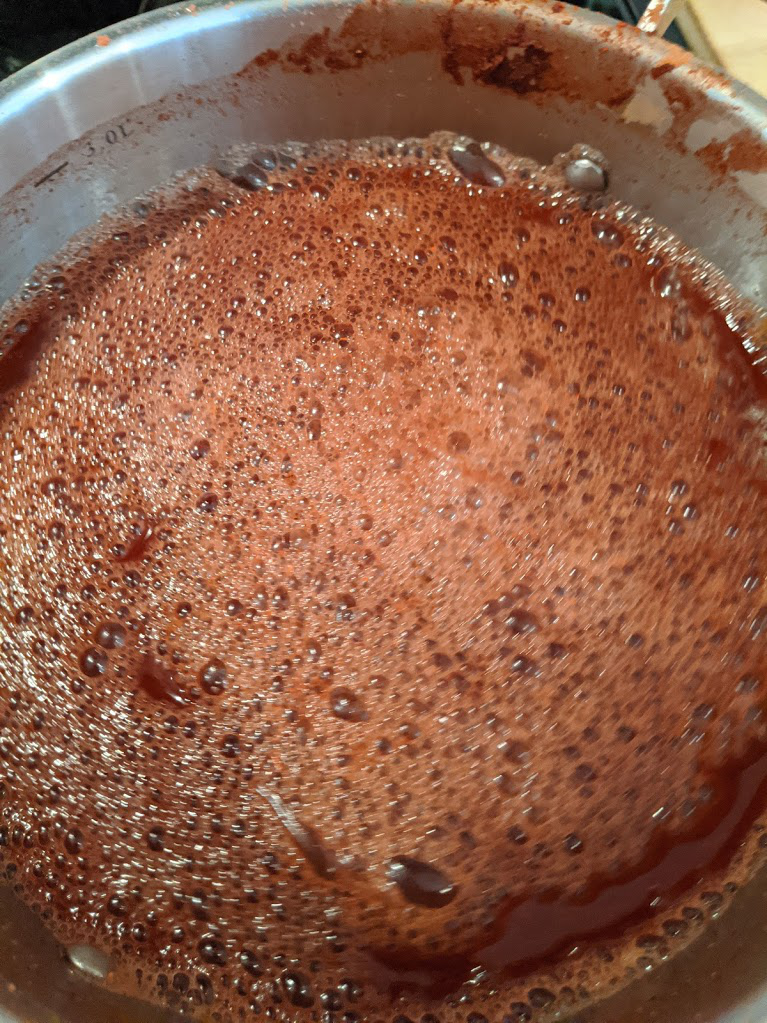
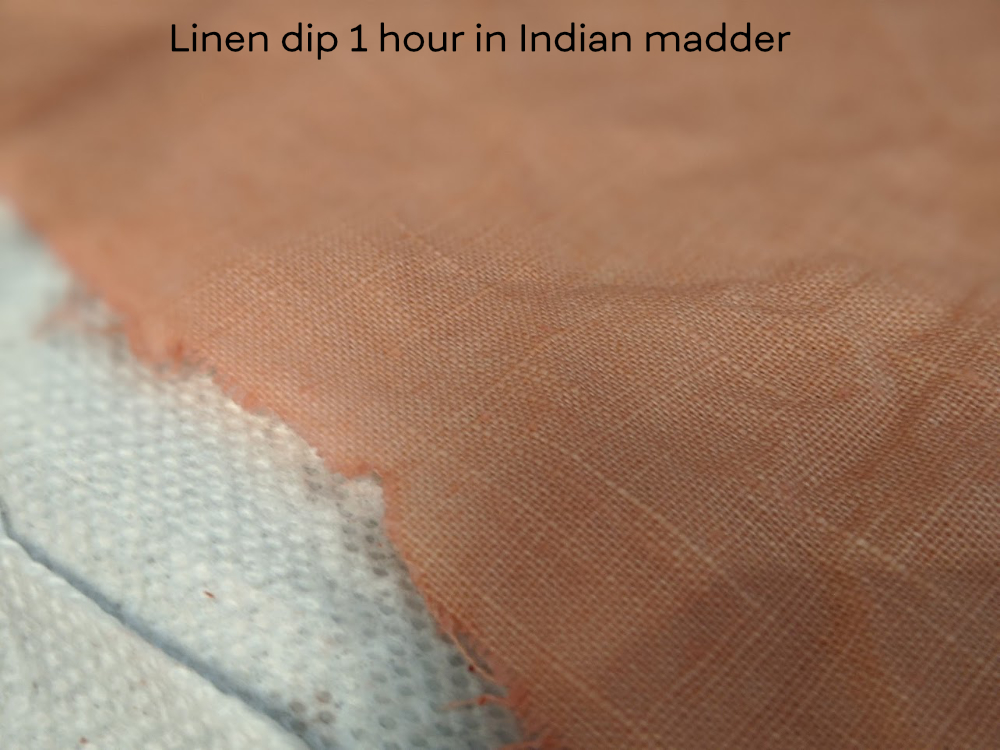
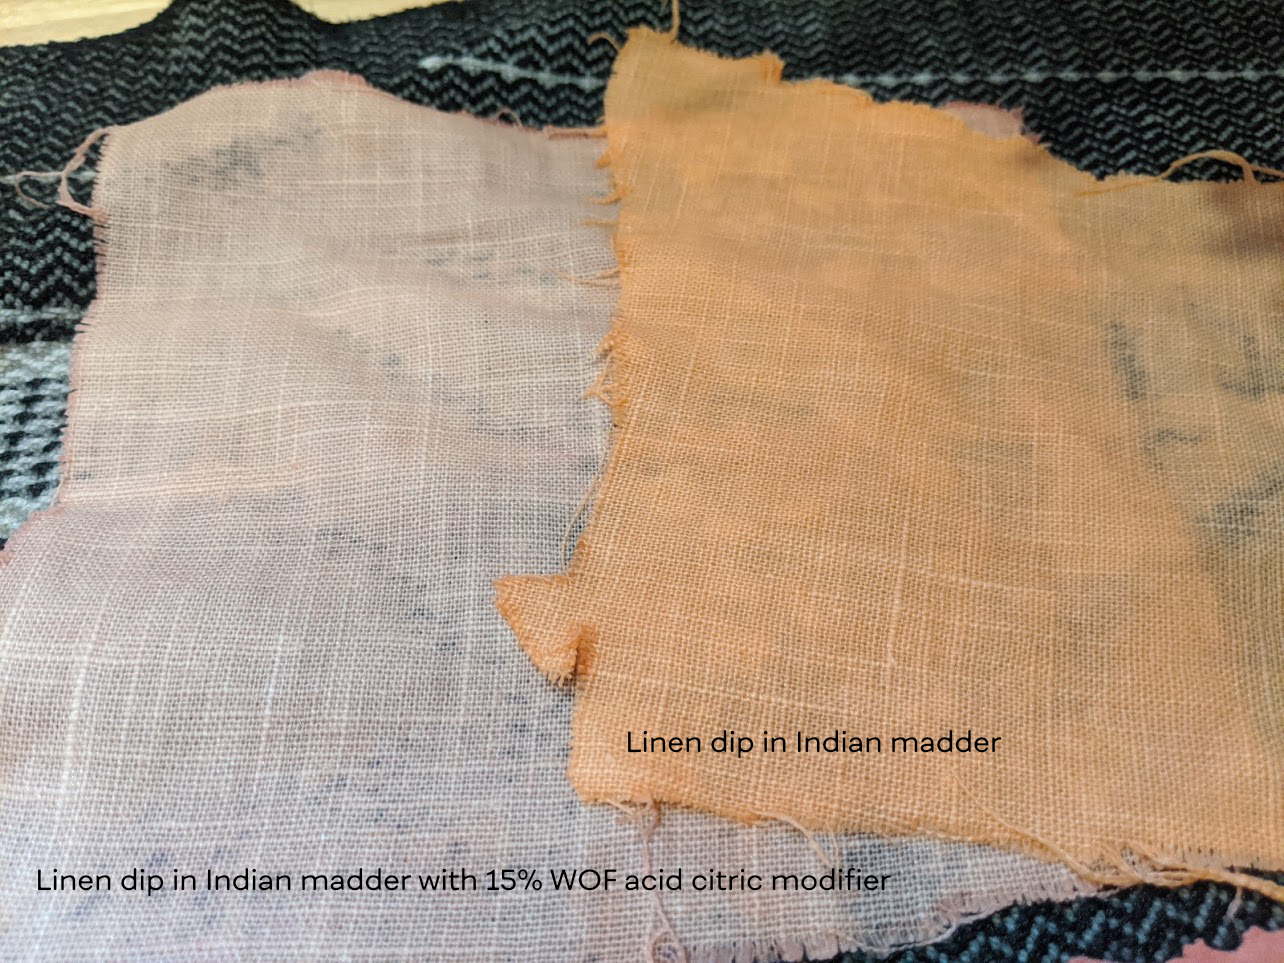
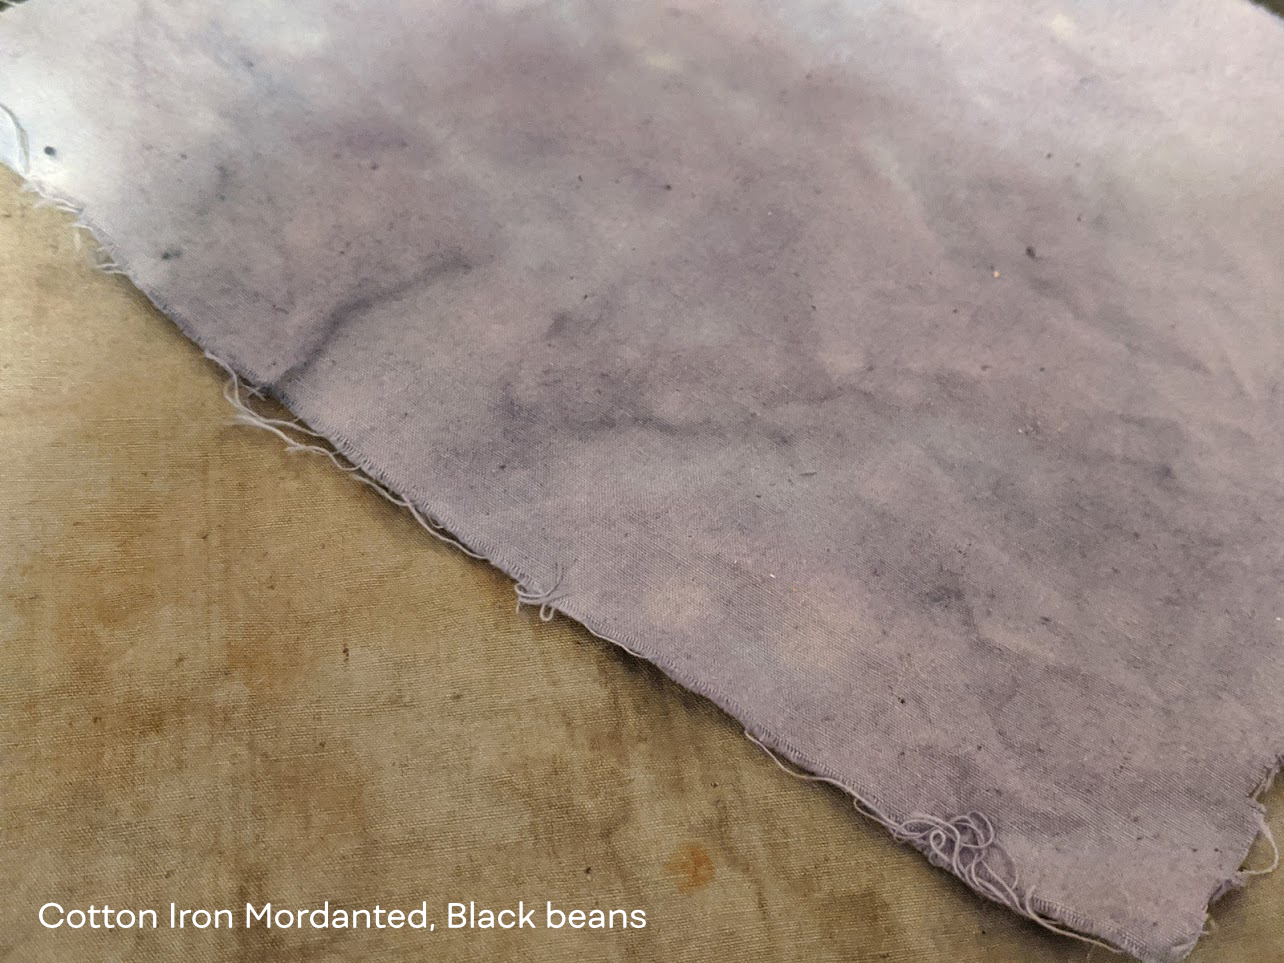
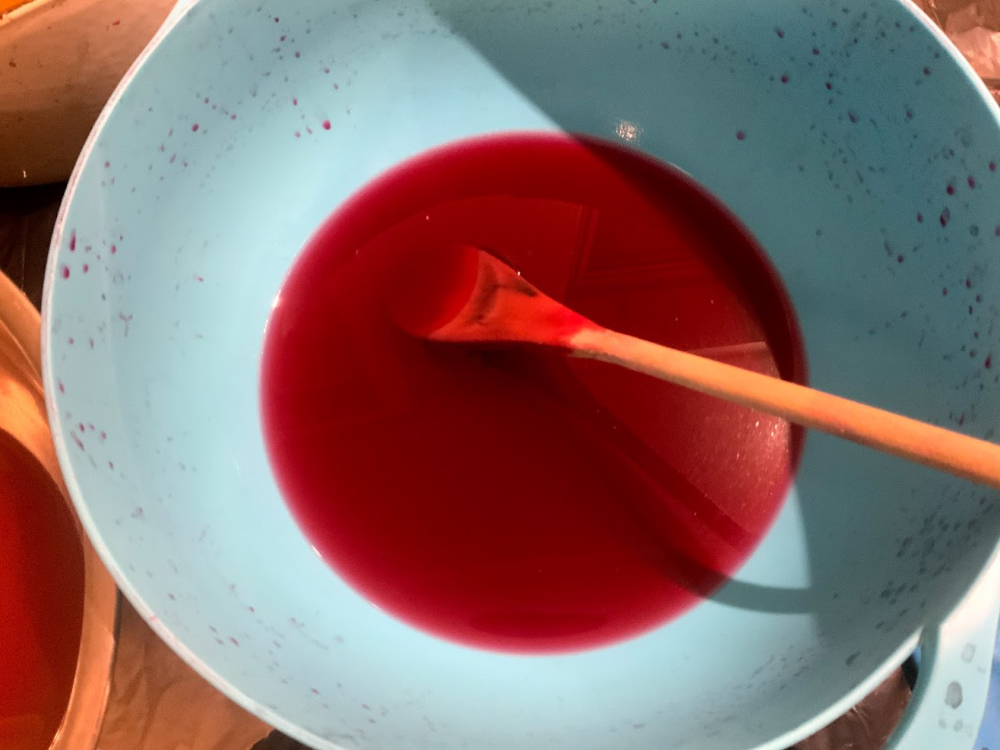
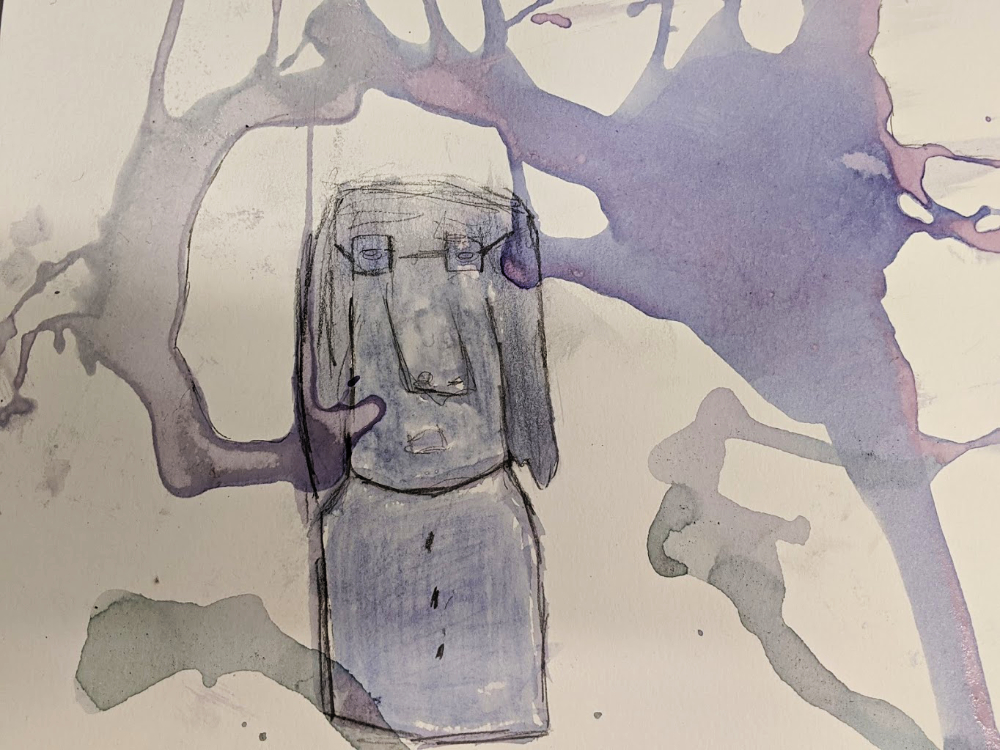
Then we have to create the dye. Pretty much anything that is organic can be use to create a pigment. I decided to try out Idian madder wich is a species of flowering plant in the cofee family.It's roots has been cultivated for it's red pigment since a very long time. I also want to try black beans, wich is very accecible and still edible once the pigment has been extracted.
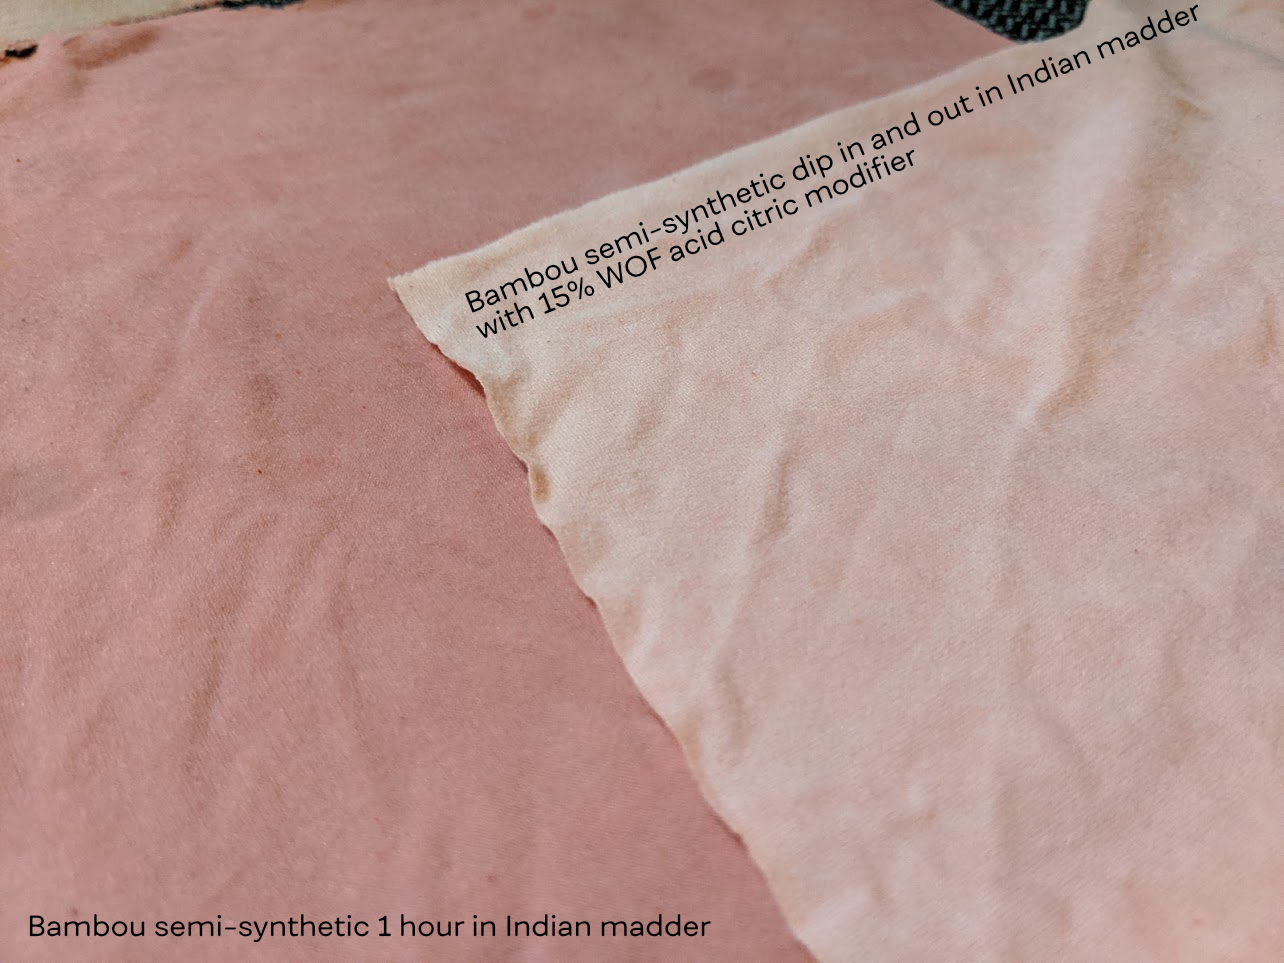
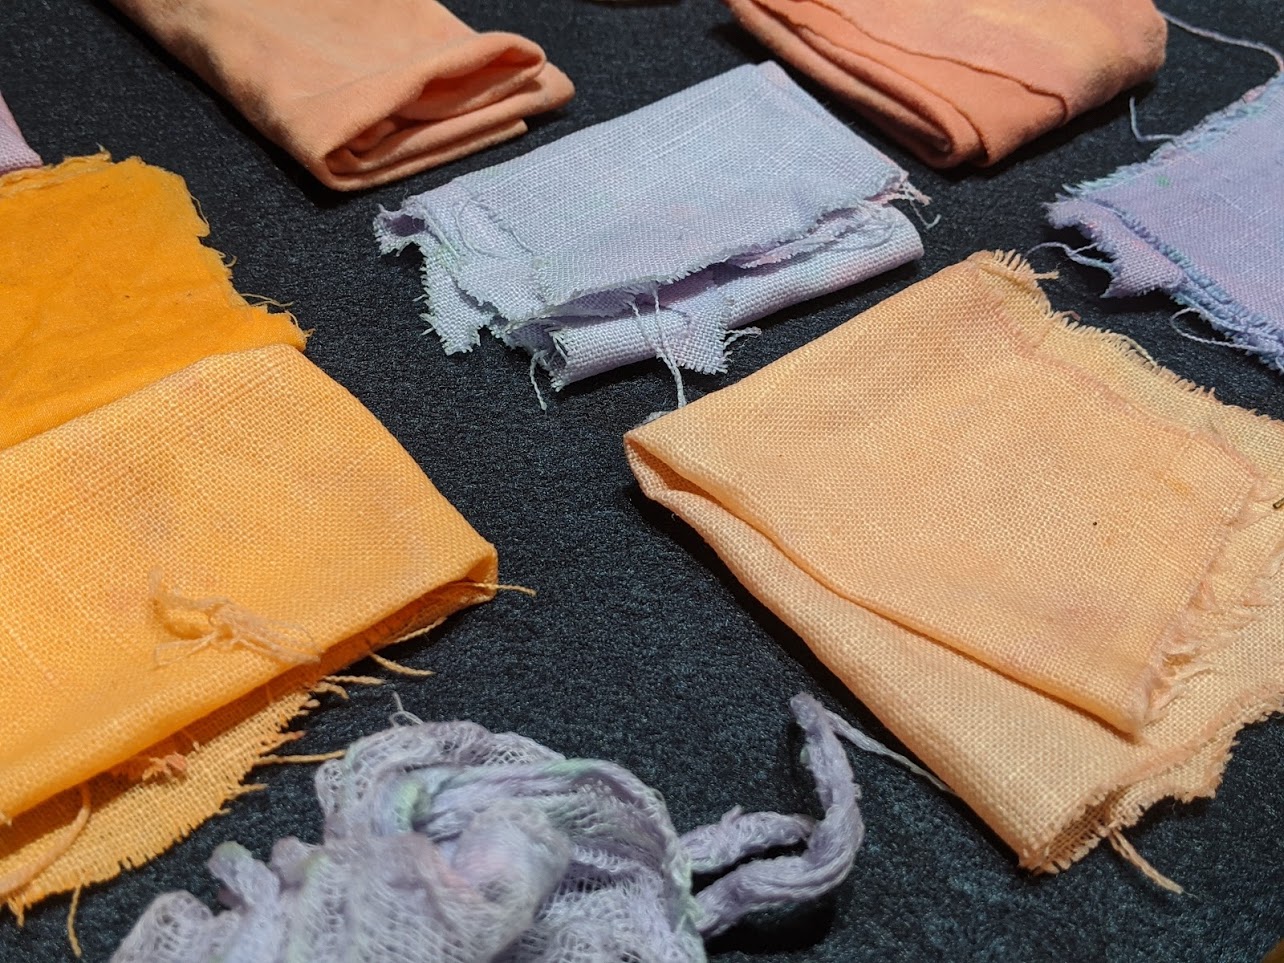
Once the dye has been applied to the fabric, or even before so, we can modify the result by applying a basic or acid solution to our fabric or to our dye. From what I understood, applying acid would make colors pop while applying a basic solution would ternish them.
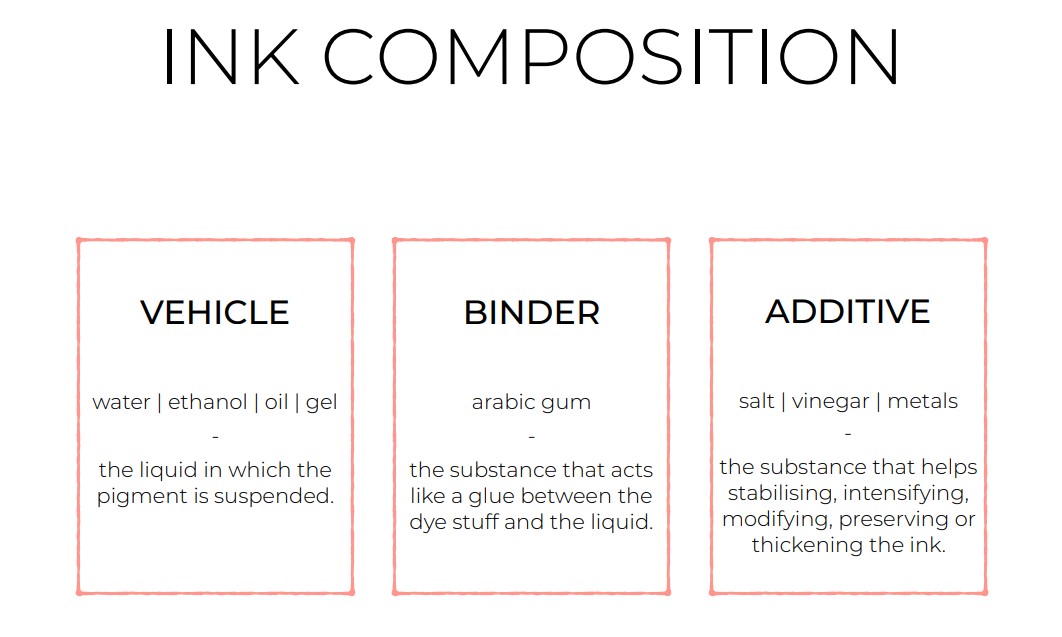
A very interesting aspect of the process that Claudia presented us is the fact that we can generate 0 waste by recycling the leftover dye and doing an ink with it. very neat! To do so, the ink need 3 thing. A vehicule, a binder and an additive. The vehicule is the liquid in wich the pigment is suspended. The binder is the substance that act as a glue between the dye stuff and the liquid. While the additive is the substance that helps stabilising, intensifying, modifying, preserving or thickening the ink.
To help us clarify all of this, we did a miro board to classified all this information, here is the link if you are interested.
As you can imagine, There is no real wrong way of doing things in this process, as long as you document correctly your steps, people should be able to repeat your achieved colors. So for the following sections, keep that in minds, my process is not the same as an other student, and it is totally normal and good!
Preparing the fabric
I also had wool, for this I only rinse the fibers using dish soap and let it dry.
It may have been a mistake to just dump everything in the same bin, maybe I should have done smaller amount of fabric at a time for it to be loose in the water instead of all jam up together. We'll see how it turns out.
Applying the mordants
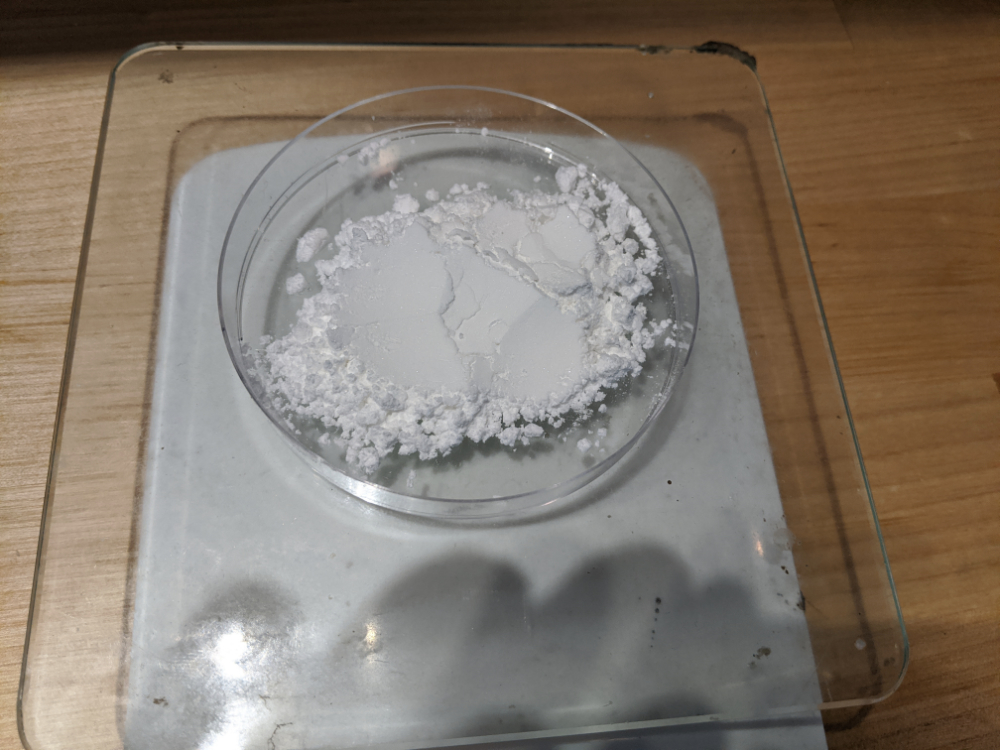
Next, I've fill up the casserole with 5 litters of water and added 15% WOF of allum and 6% WOF of tartar. I heat up the casserole and waited until the solution stirs, once it was hot I've added the fibers and let it sit for half an hour. After that I close the heat but kept the fiber in the solution until it was room temperature.
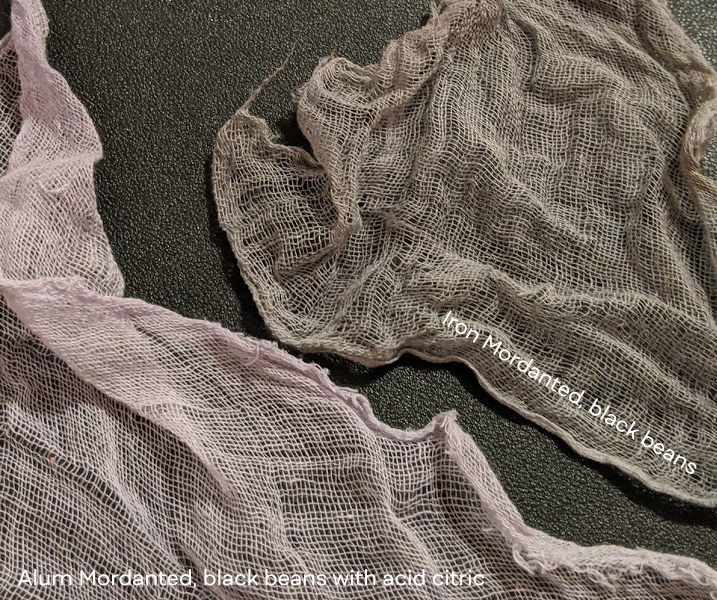
I did the exact same process for the Iron sulfate mordant, using 6% of the WOF, coming back from it I think it may hae been too much, as soon as I mix the iron sulfate with the water, the water became super murky and had an orange colors to it, the fibers took this pigmentation while being mordanted.

Once the fabric has been mordanted, I rinse it and let it dry overnight. Hope that I did everything ok!
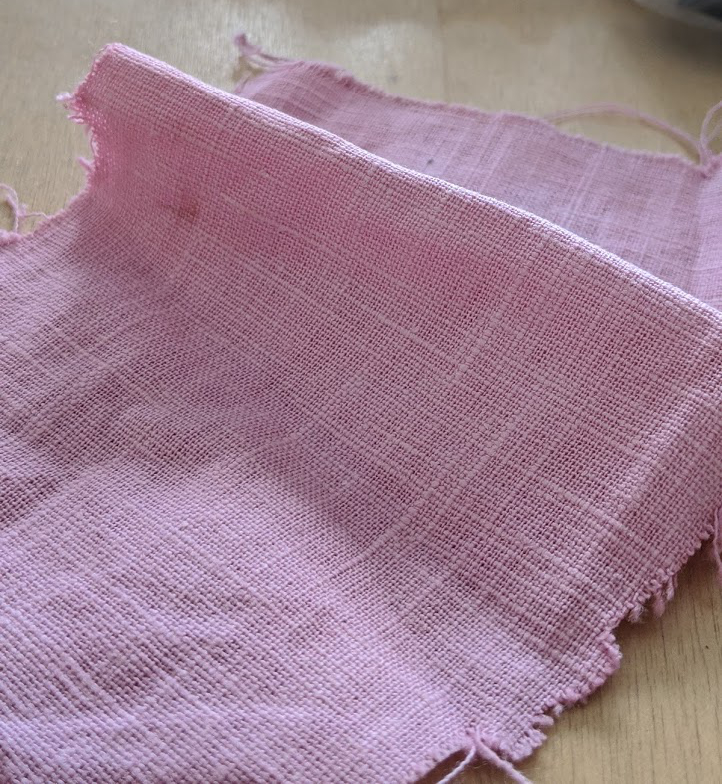
Creating and applying the dye
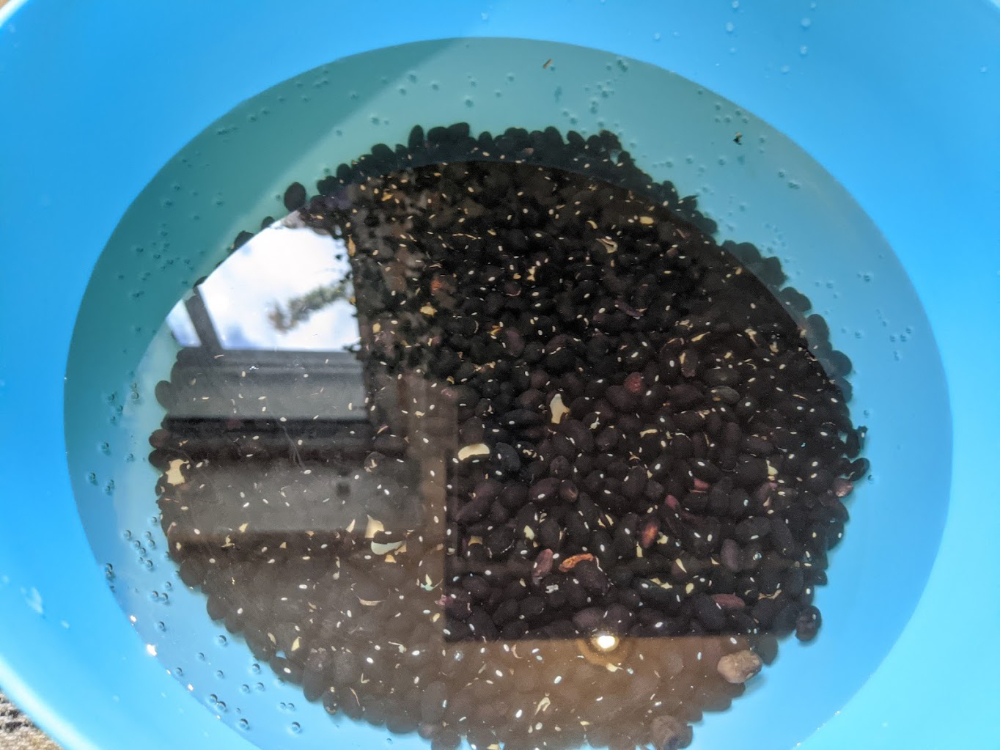
I was also curious to try creating a dye using black beans, from what I saw the colors that can comes out of this ingredient are very interesting. To do so, I just fill a water pot with two litters of water and added 500 grams of dried black beans and let it sit for a bit over 24 hours.
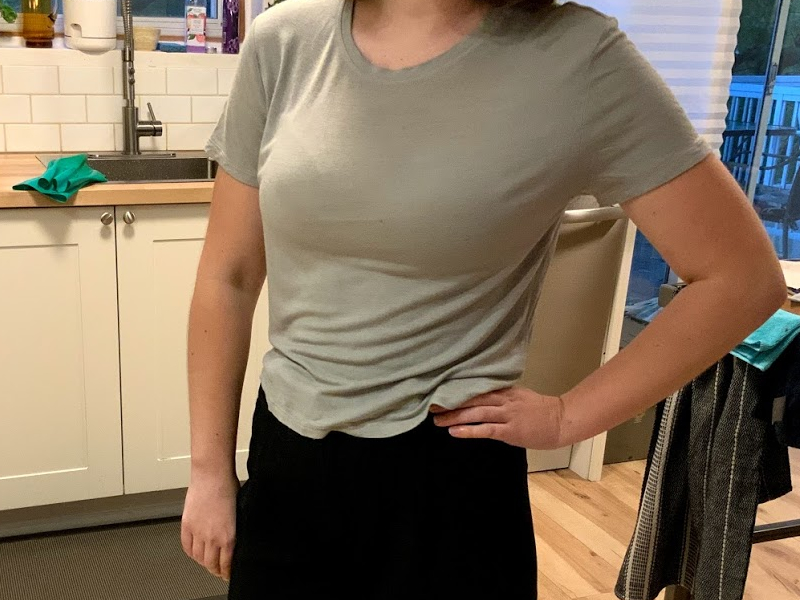
I also tried to do a T-shirt, I use the iron mordant and the black beans dye for it. The result were not bad, I fell that the color did'nt take as much since there was polyester in my girlfriend t-shirt. Here is the result.
Using Modifiers

Making Ink
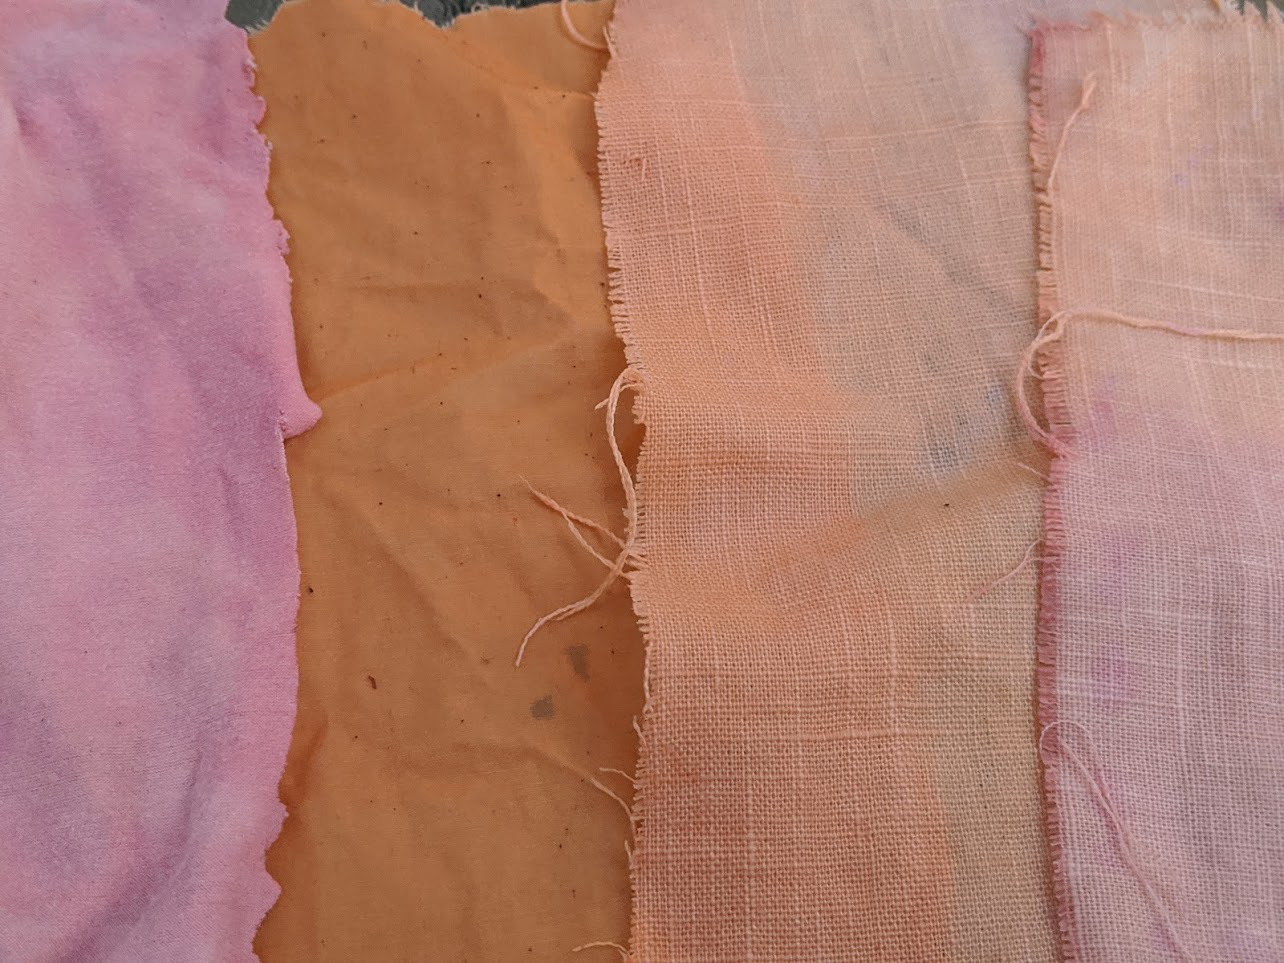
The process could not be more straightforward, take your dye and mix it with those ingredient, no need to heat or do anything particular, just stir for a while and see the result! I tried 5 different sample:
Here they are in order.
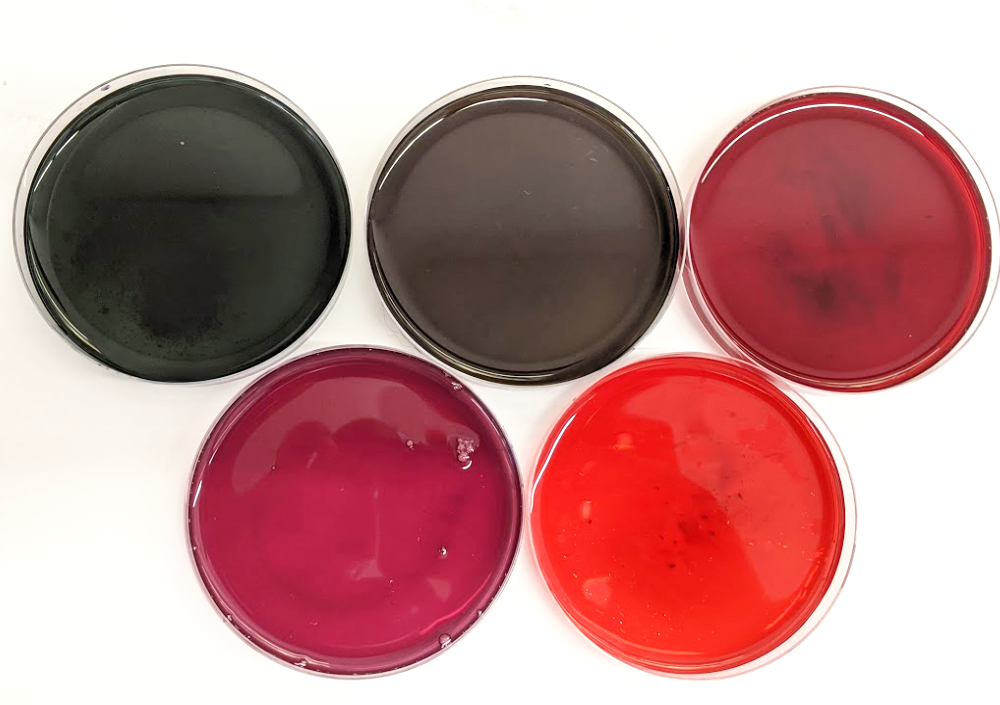
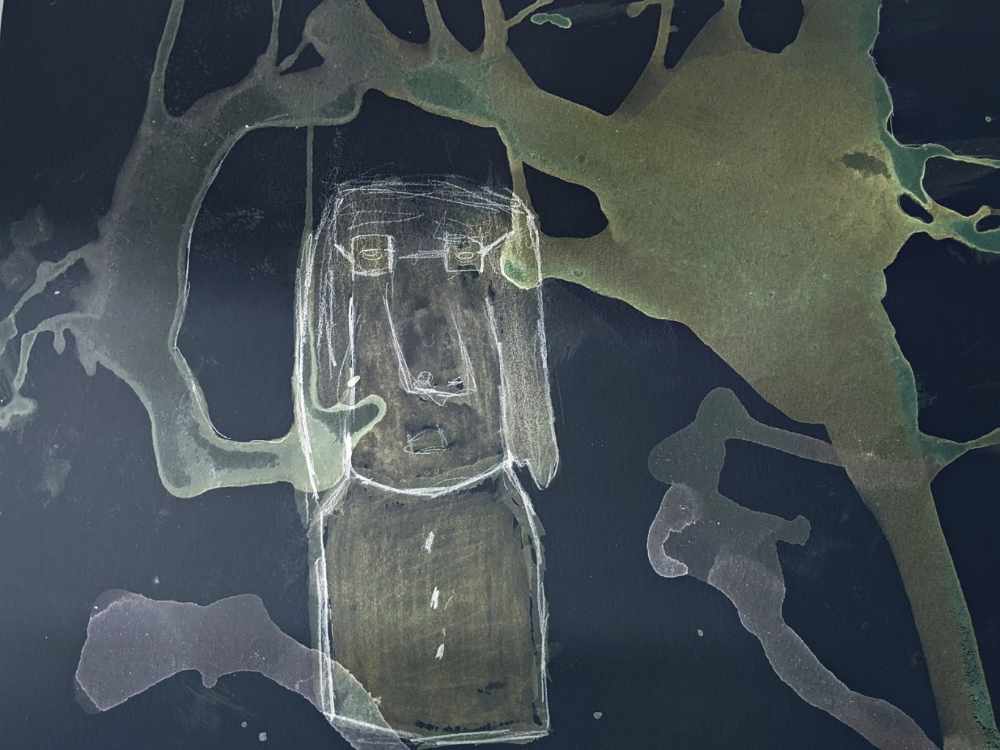
When I tried applying the ink onto a paper, I realise that the difference between each color was not so apparent. I had fun creating a negative on Affinity photo to highlight the variation in colors. I liek the final result.
BioMaterials
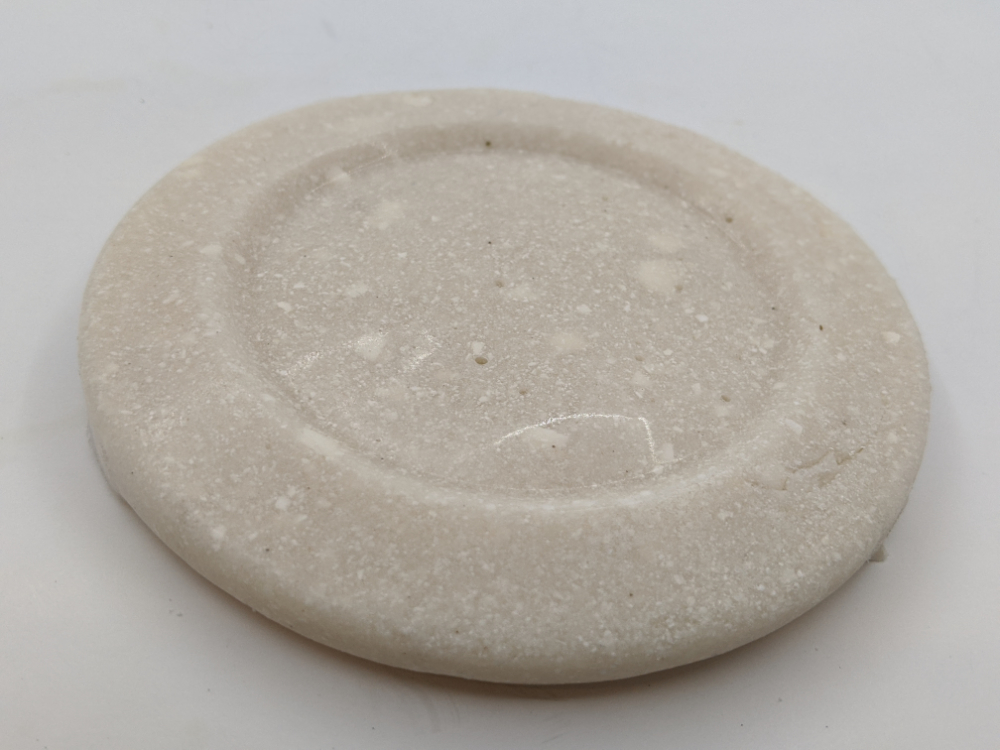
This week we had to experiment with at least two biomaterial recipe. Ideally one crafted and one grown. I didn't expect how fun and exciting this assigment would be. I decided to experiment with crafted material first. There is a recipe on the materiom.org that seems to give beautiful results without being very hard to reproduce. This particular recipe uses Kappa Caraggean as our polymer, water and glycerin for our plasticizer. Also, I used a bit of spirulina for the pigment. The first iteration of the experiment I decided to not alter the materiom recipe, just tried to reach exactly their results. The recipe goes as follow:
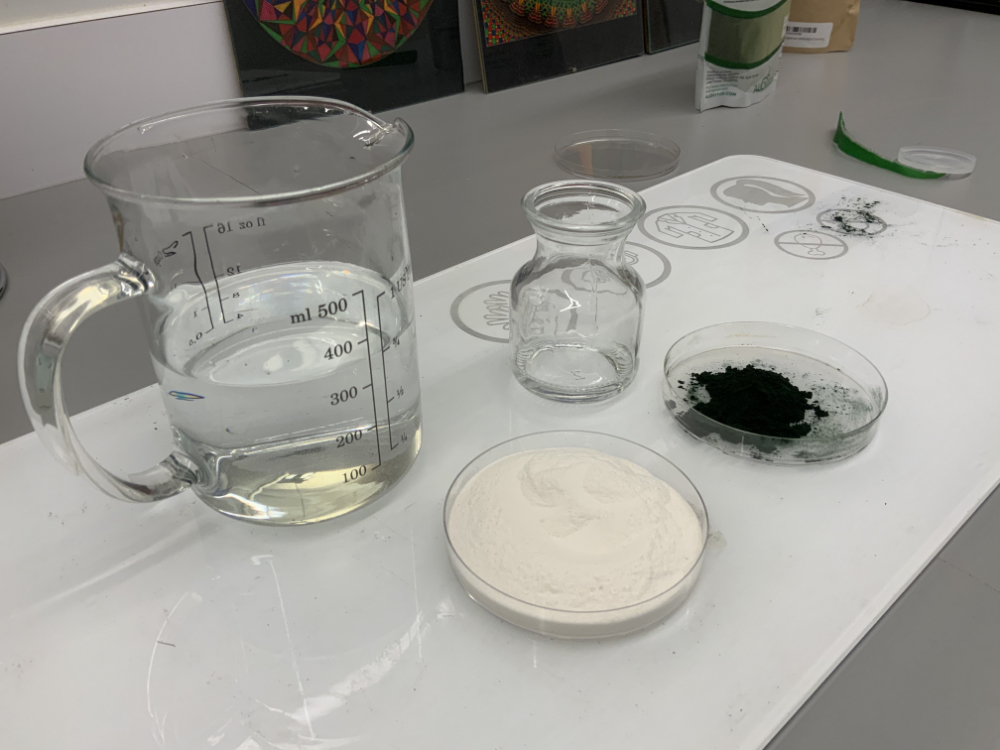
First step was to fill a cauldron with 350mL of water and slowly add the Carrageenan while mixing the results.
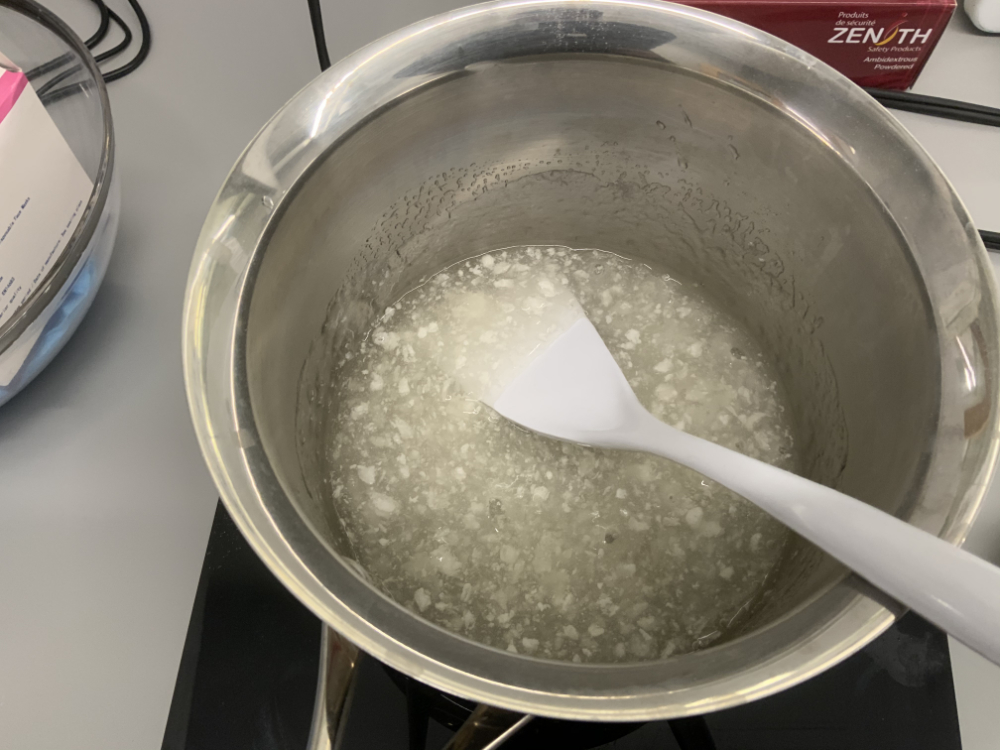
Then I set the heat so that the water would boil, and keep up stirring until every lumps has disolve. Once the mix is homogeneous I added the vegetal glycerin.
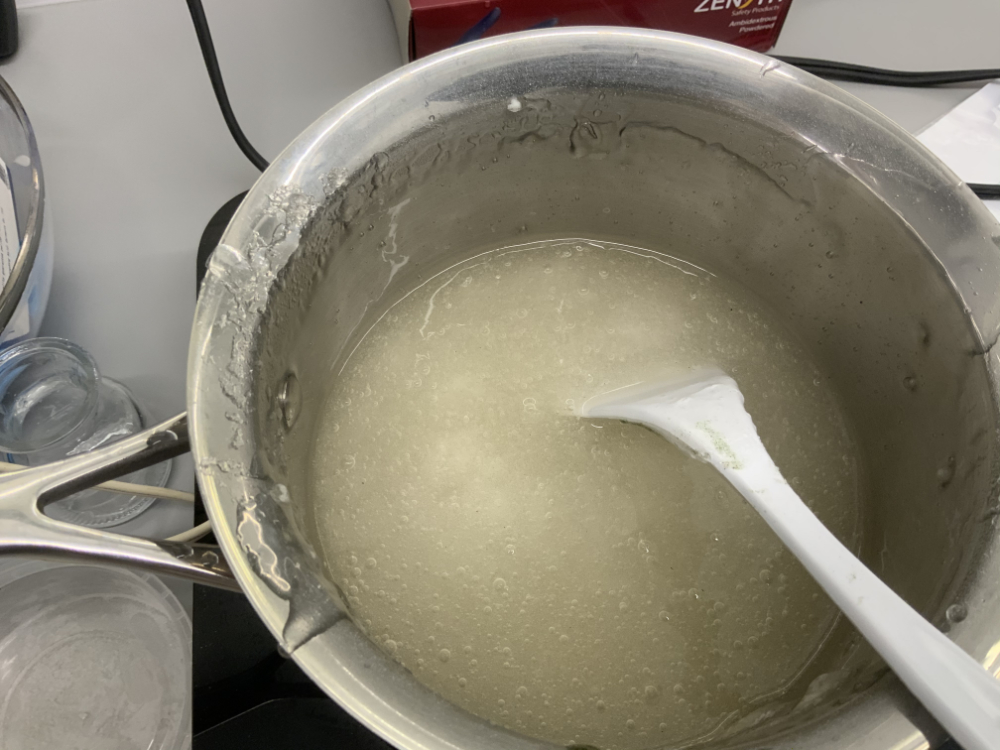
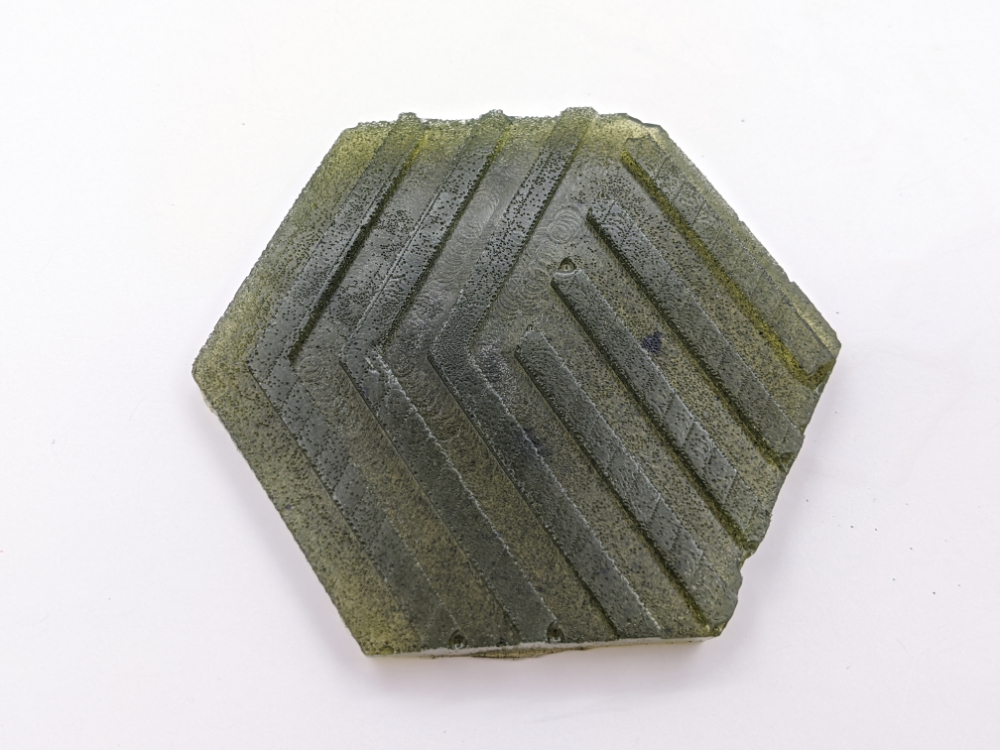
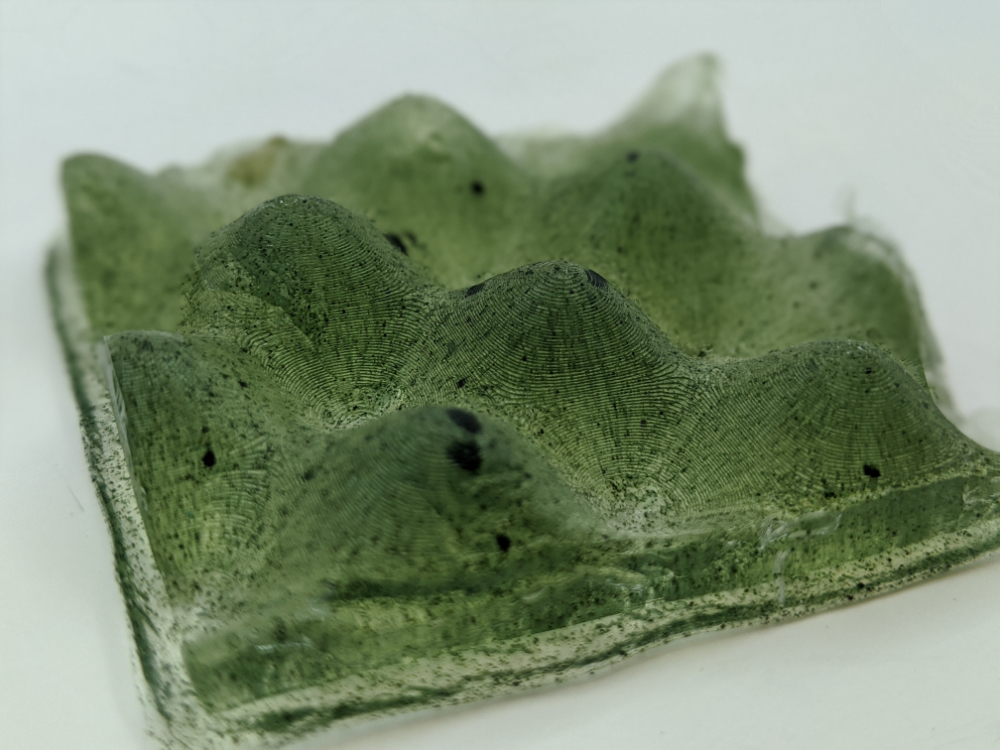
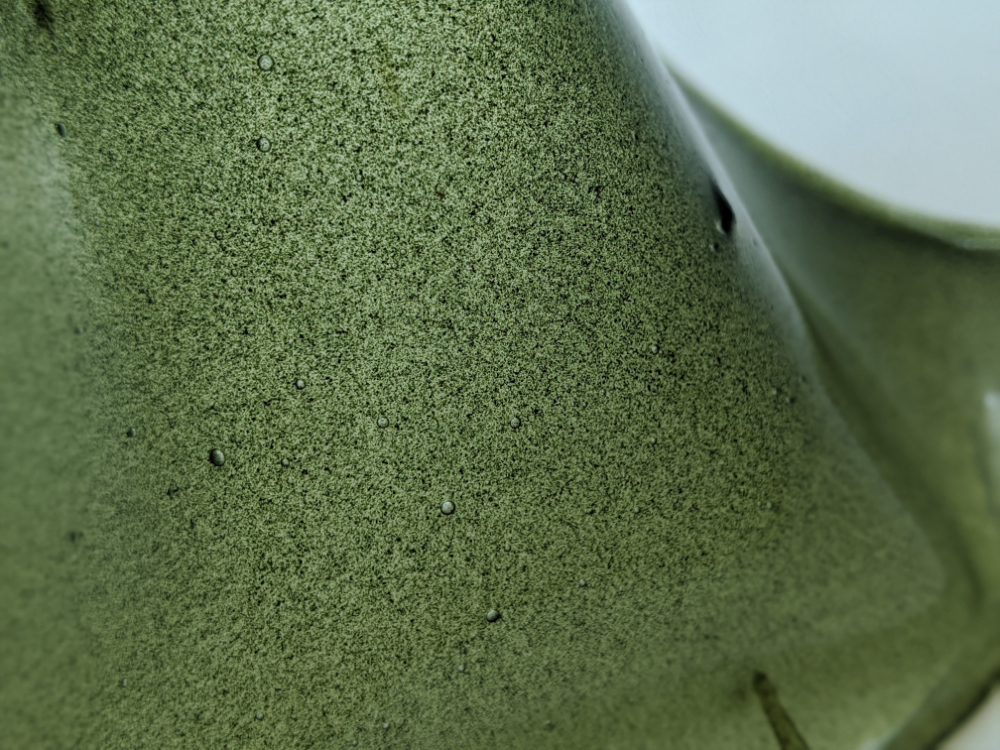
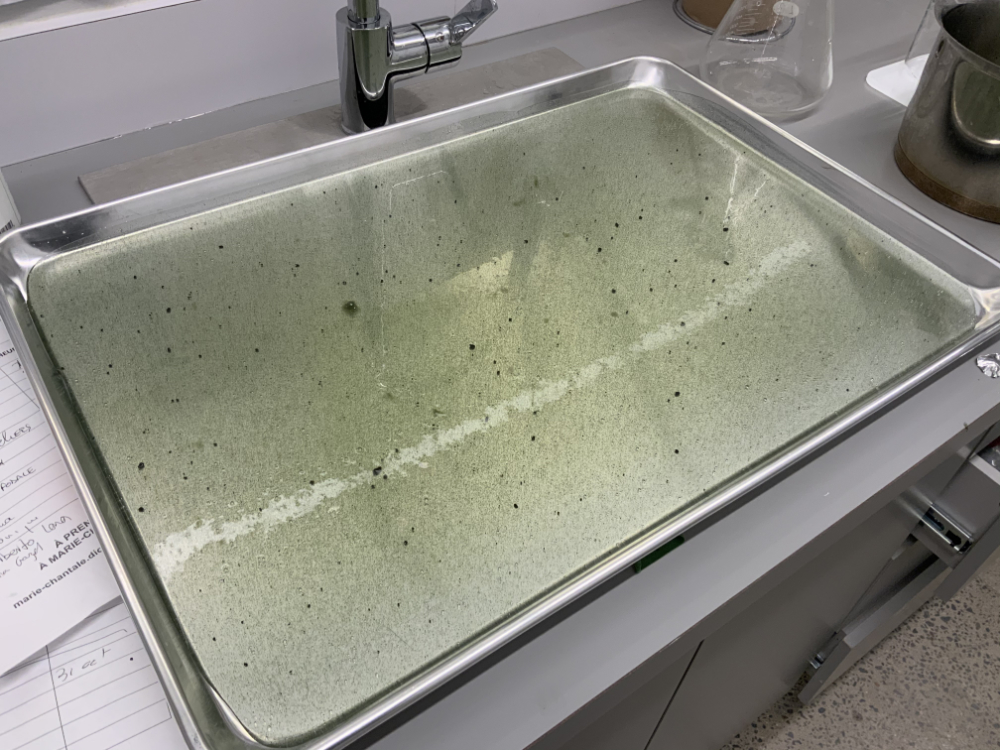
I kept stirring for a few minute and added the Spirulina for the color, I then close the heat and wait for the mix to cool down to approximately 70 degrees. Then pour on a baking pan. It only take a few seconds for the mix to freeze in place, the results are absolutely stunning! here are some pictures, cast in silicone mold that we had at the lab or just straight up sheets for the laser cutter.

I absolutely loved the result, but I was very dissapointed when I came back after two days to see that everything had shrink so much that it was just not usable anymore, exept my sheet, the sheet had shrink but it is still a decent size.
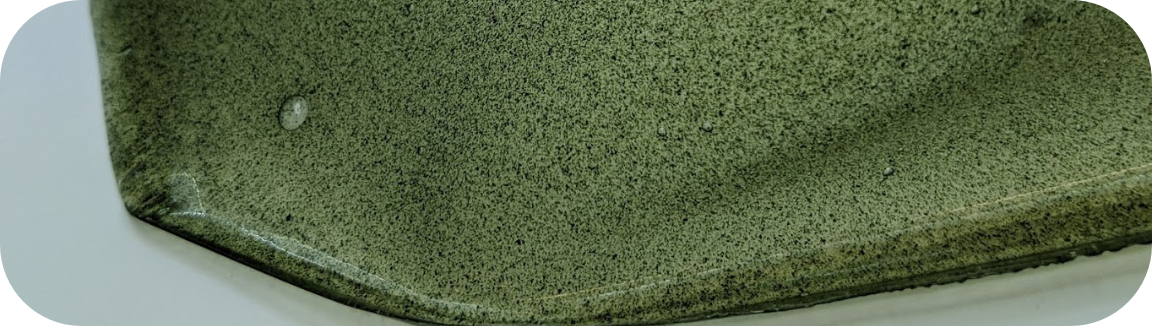
I decided to triple the recipe, exept for the spirulina so that I can do a wider sheet while keeping a bit of transparacy. It worked has expected, once dry, the material is very maleable but does tear up easily.
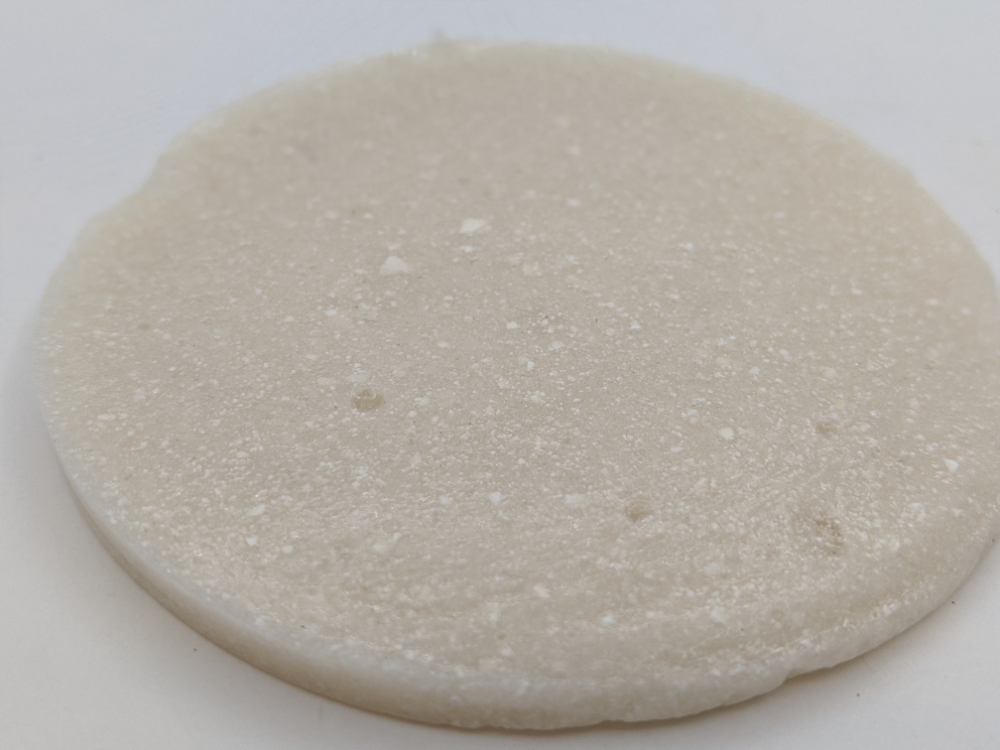
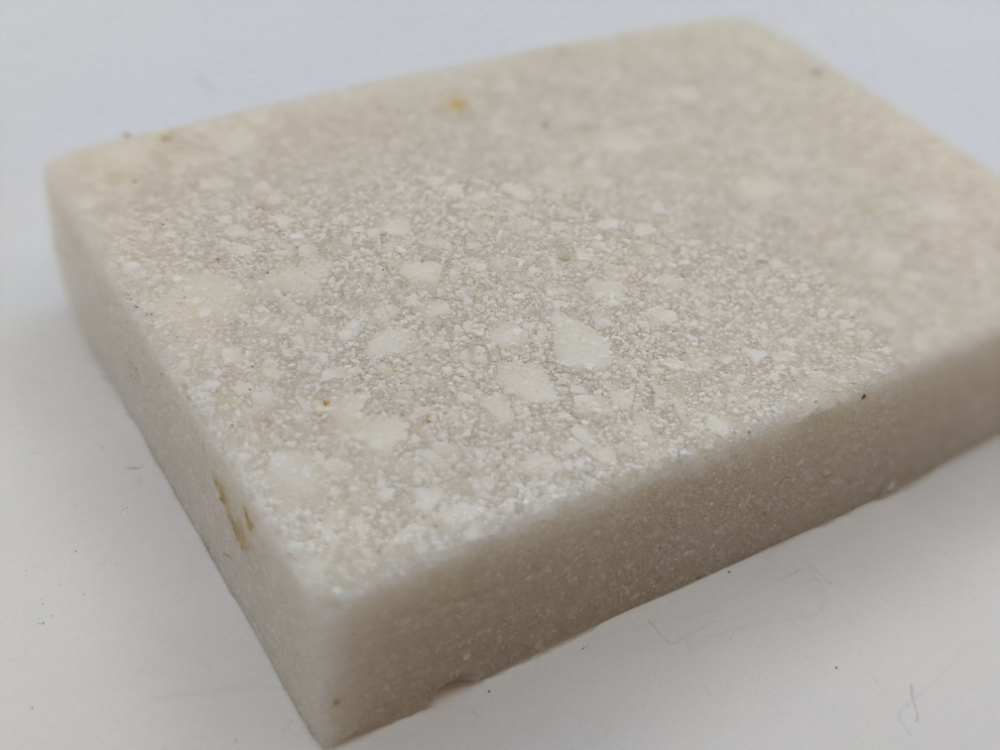
I started wondering how I could solidify this material and I decided to expiriment with an eggshells filler. To do so, I did the exact same recipe that I mixed with about 70grams of dried egg shells. The result was much better over time, the shrinking still happened but not as much. The material is also very solid now.
Mycelium
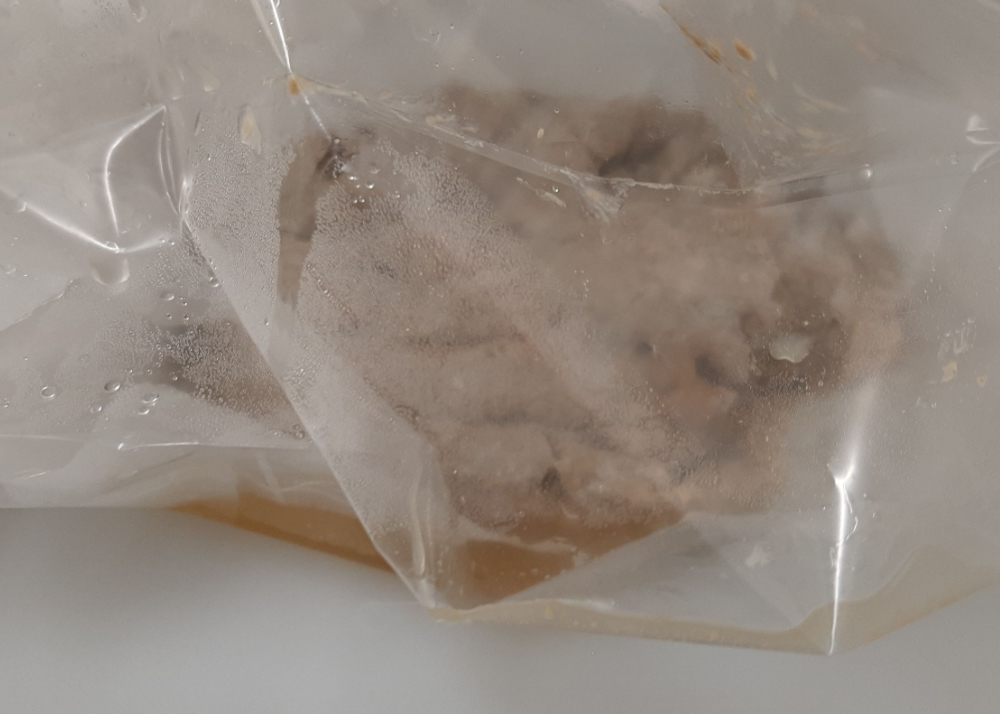
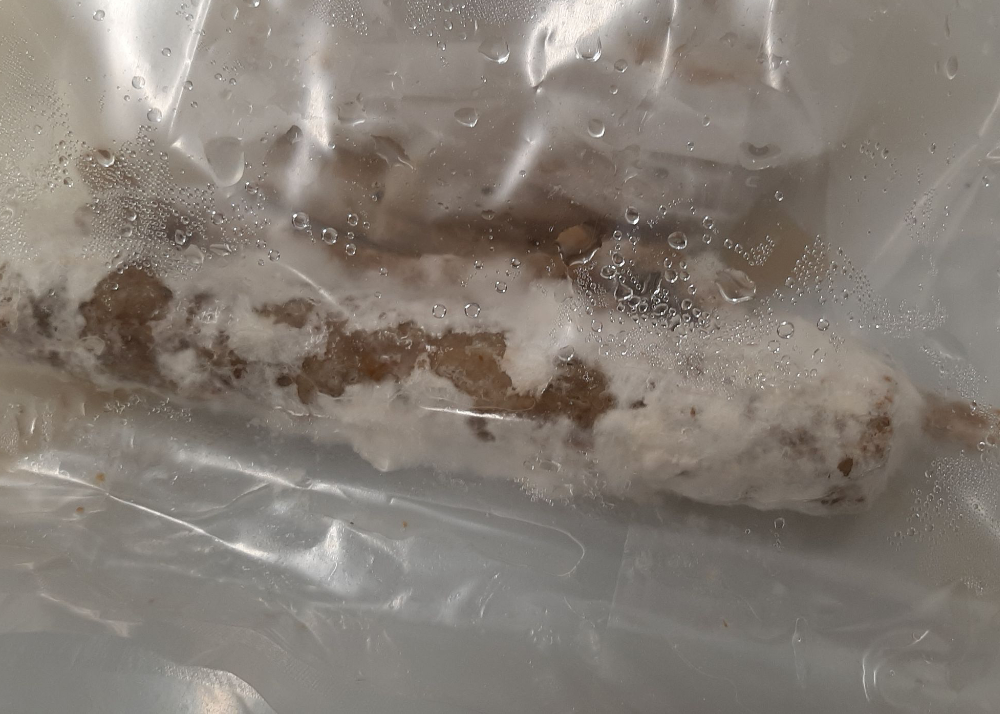
Noemie and me then decided to try out something even more experimental, She already did a few experiment using mycellium for this week assignment. So we did a new nutriment mix using Malt and Yeast extract, peptone, glucose and distilled water. We Then mix this with water and oat to create a oatmeal kind of paste. We then added already started mycellium that was groing with saw dust. Once we had the full mixture, we tried to print it using our foodini , the foodini is a 3d food printer that contain seringe that can be fill with all kind of mixture to create 3D recipe. But we quickly realise that the mixture was too thick to be push by the foodiny seringe. So we decided to try out the same experiment but using our clay printer instead. The 3DPotter Super 9 is a new machine that we have here at the lab that I still had to set-up and try out. We work with a lot of potter here at echofab so it makes sense to acquire this kinda of tehcnology.Here is the recipe for the mycellium nutriment mix:
To that we add the micellyum and Oatmeal and we have our mix ready to go!
The result were interesting, the print went pretty well, not perfect but I think it's due to the fact that the mix was not perfectly homogenous, and it causes a few problem at the extruder. the structure was solid enouph for us to put it inside a plastic bag and let it sit for a few day. can't wait to see the results...
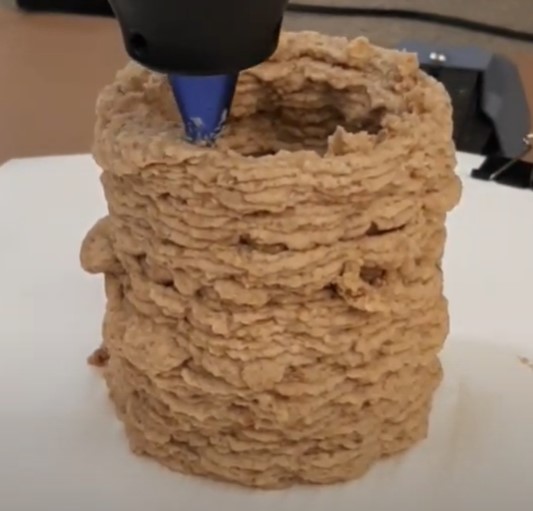
After a few day, the mixture is a huge failure, it liquified itself and is now only a nasty puddle of mold and oatmeal...Oh well....